How to iron on patches on your clothes
Adding an iron-on patch to your clothes is a simple task, but it will undoubtedly change the appearance of your clothes. It doesn’t matter if you want to decorate a t-shirt, backpack, pants or skirt; ELIS ELIS patches are ideal for personalizing your garments and making them unique. Patches are not only useful to cover holes, they can also be used to make your clothes exclusive.
Although it is an easy process, first you must make sure that the fabric to which you will stick the adhesive is suitable. Look for the label of the garment and find the symbol that indicates if you can iron the piece. We’ll help you! If it shows a drawing of an iron, you are lucky, but if the iron is crossed out, you will have to find an alternative piece to iron on your design, if you do not want to ruin it. An option for garments that cannot be ironed is to sew on the patch.
If you can’t find the tag (perhaps you removed it because it bothered you when you wore the clothes) you’ll have to figure out what kind of fabric it is. Cotton and blend are the best fabrics to stick your patch onto. The colour of the garment or the thickness of the clothes doesn’t matter. You can add iron on patches to jackets, pants, denim, backpacks, or even shirts.
On the contrary, if you suspect that the piece has a high percentage of synthetic fibres, such as acrylic or polyester, it is better not to risk it and reserve your patch for another garment. We like daring people, but if your garment is made of linen or silk, it is likely that the patch will not hold well.
Applying thermoadhesive patches using an iron
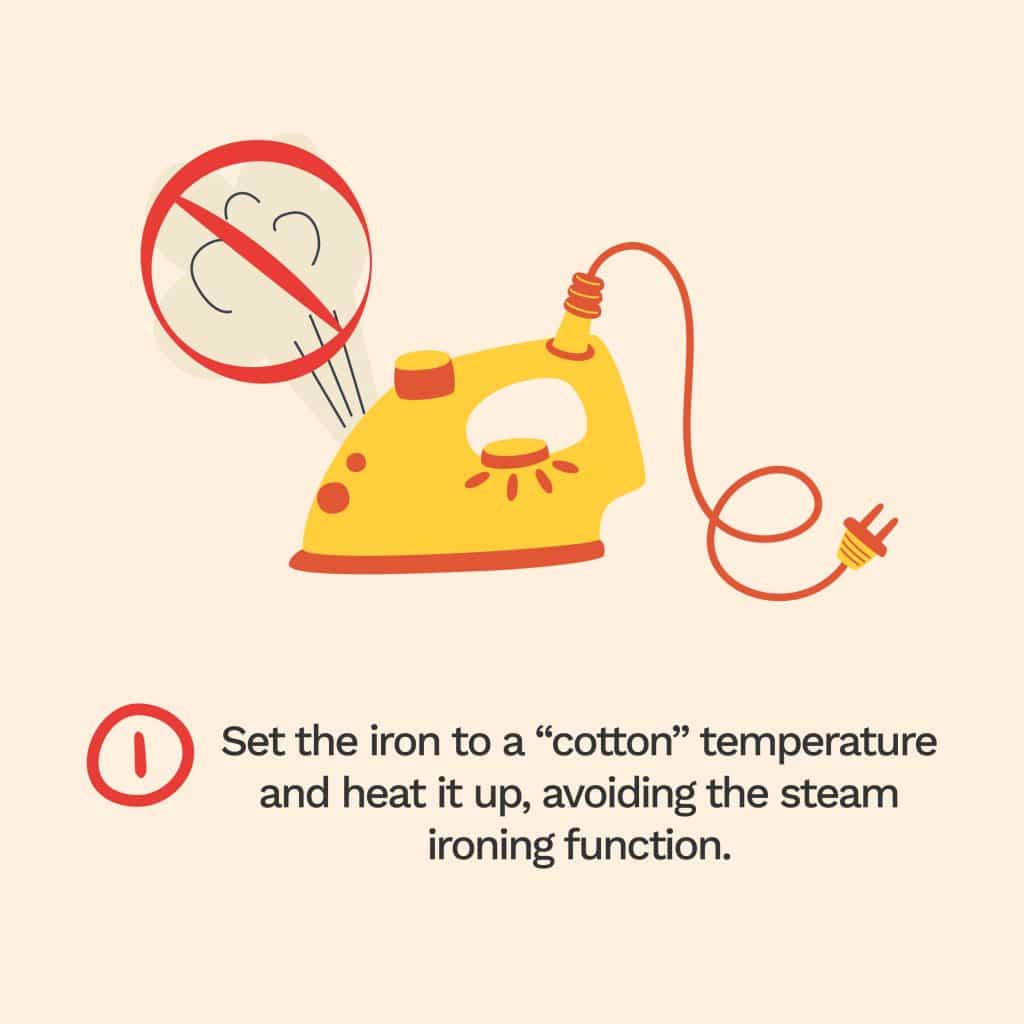
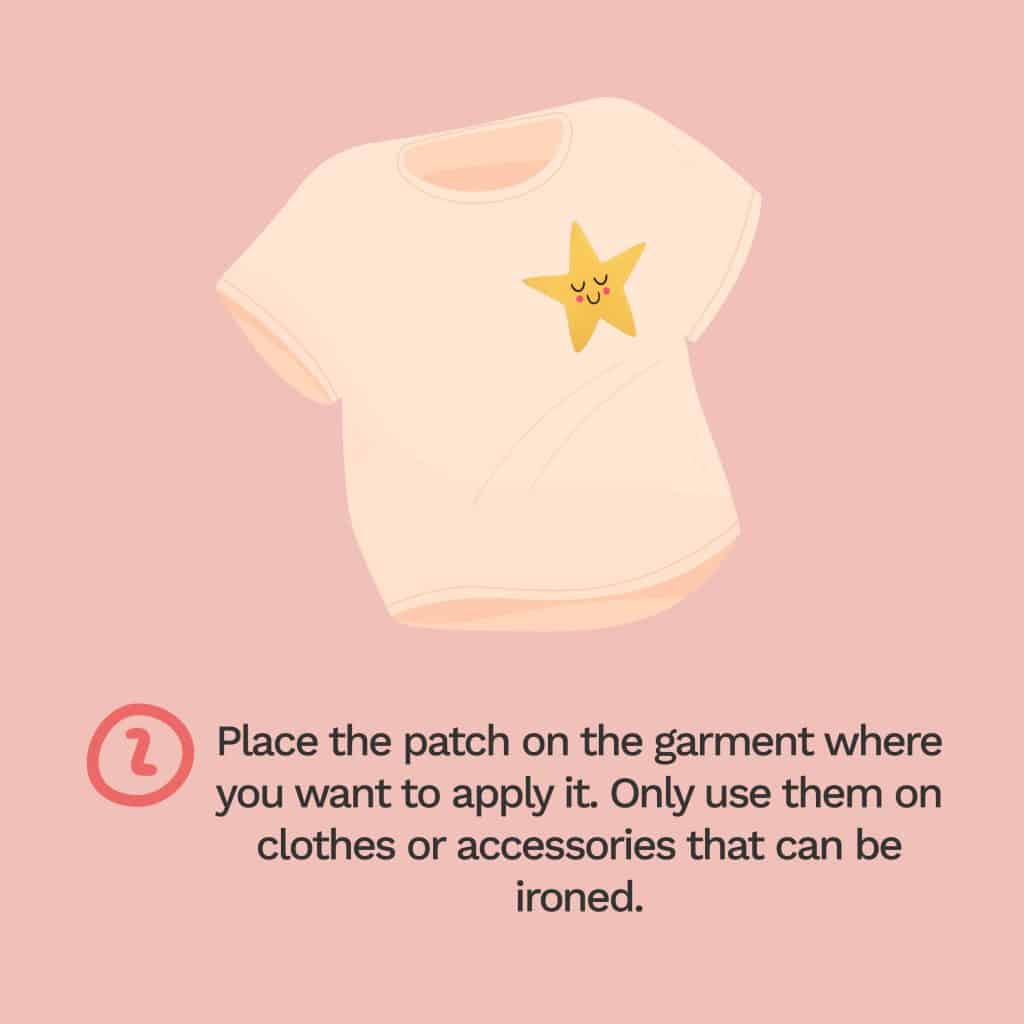
First, choose the place where you want to put the patch. It is preferable not to put it on top of a seam or embroidered details, trying to leave the maximum surface of the clothing in contact with the adhesive. Have you already decided where you will place it? When you have decided how you want the finished piece to look, it is time to heat the iron. Put it in cotton mode (about 180ºC) and wait for it to reach the right temperature.
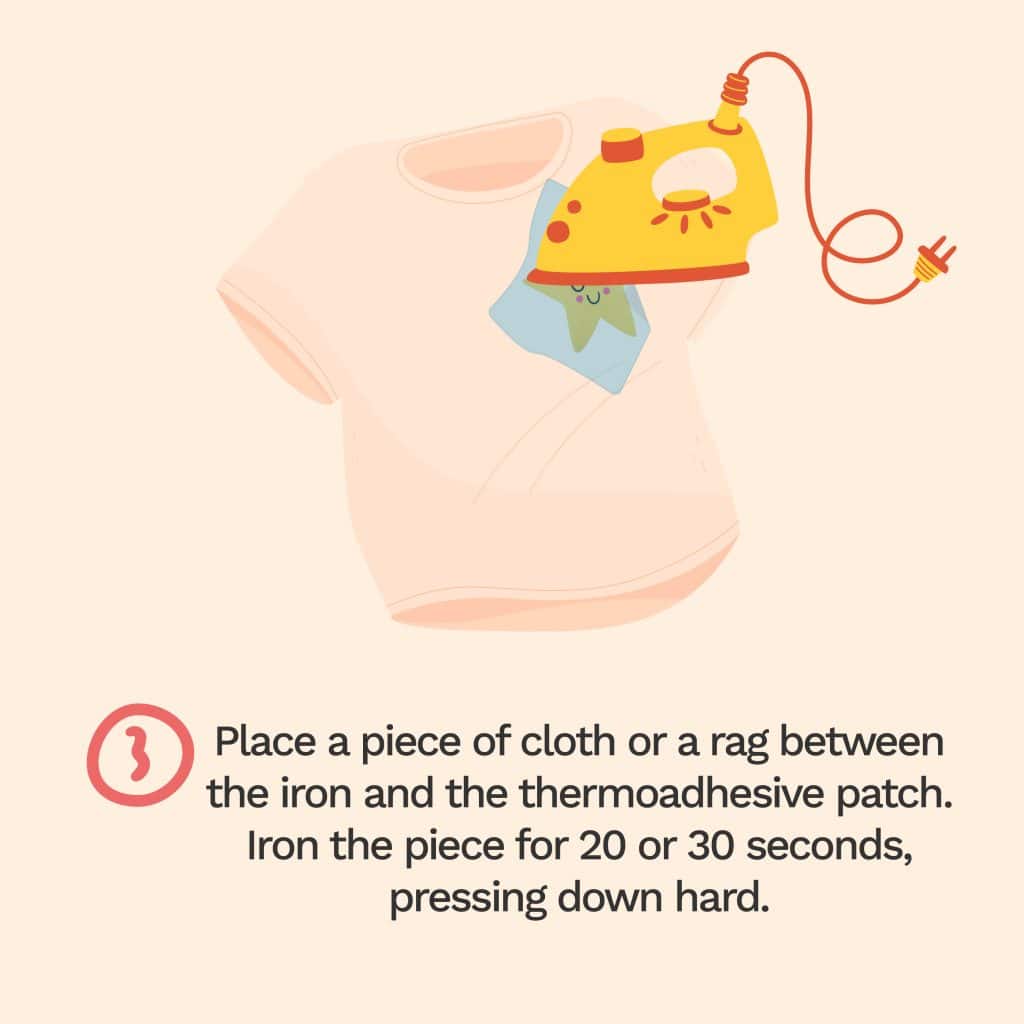
Place the garment on the ironing board so that the surface where the patch will go is as smooth as possible. Place it where you want and put a cloth or rag on top of the patch, it will transfer the heat, but it will protect the visible part of the patch.
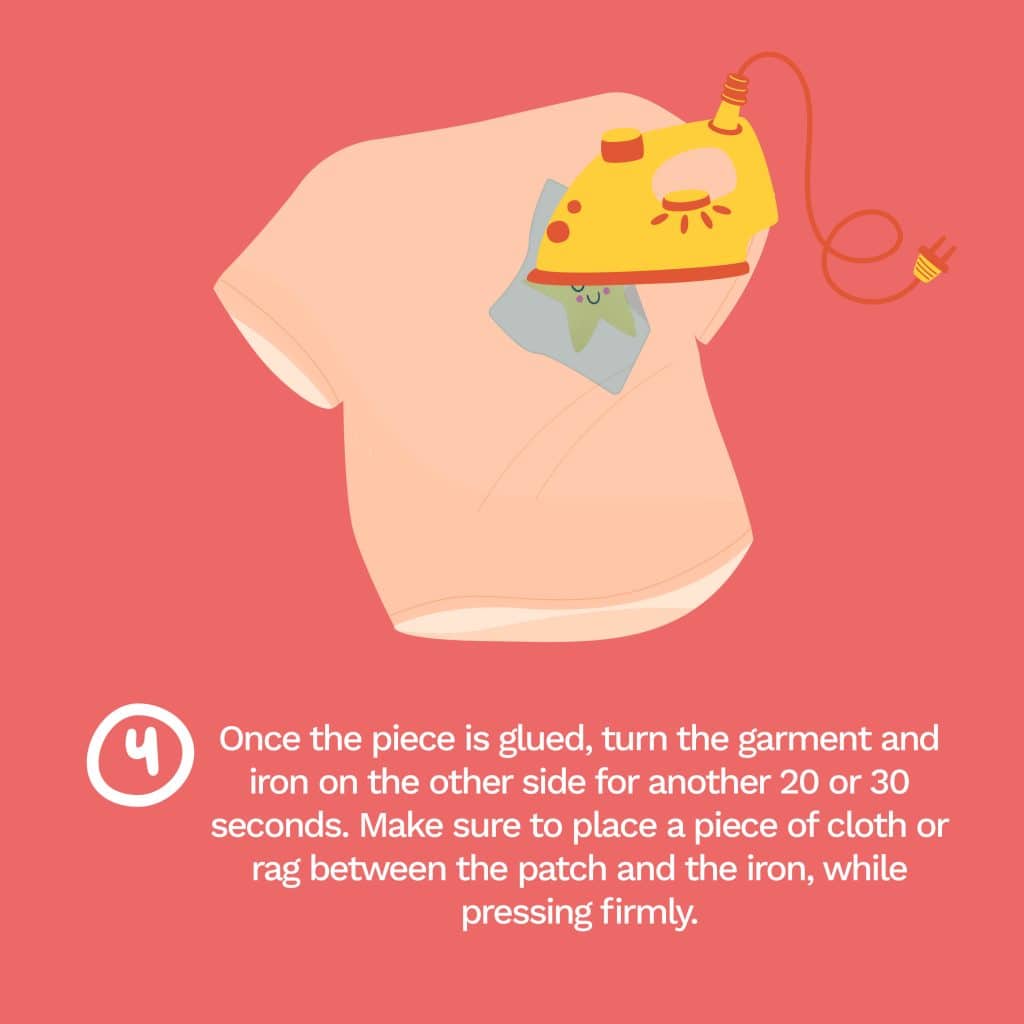
Make sure that the base of the iron does not have any traces of water and press ironing the fabric on the patch for about 20 or 30 seconds. The patch should already be attached, but we recommend turning the piece of clothing inside out and repeating the process (put the cloth back on and press with the hot iron). If you have placed the patch on a pocket or thick fabric, it may be more difficult, and you might have to repeat it one more time, don’t worry.
How do you like your new garment with our ELIS ELIS designs? It looks amazing, doesn’t it? Don’t put on the piece of clothing yet! Wait for the patch to cool and adhere to the fabric. In a few minutes you’ll be able to wear it as brand new!
If you have any questions, always refer to our instructions.


